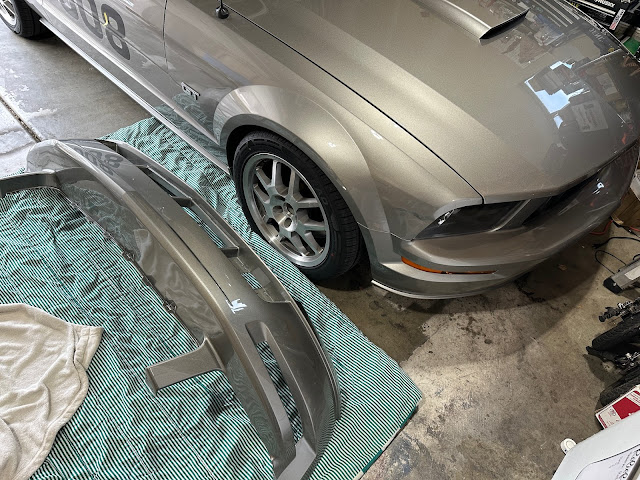
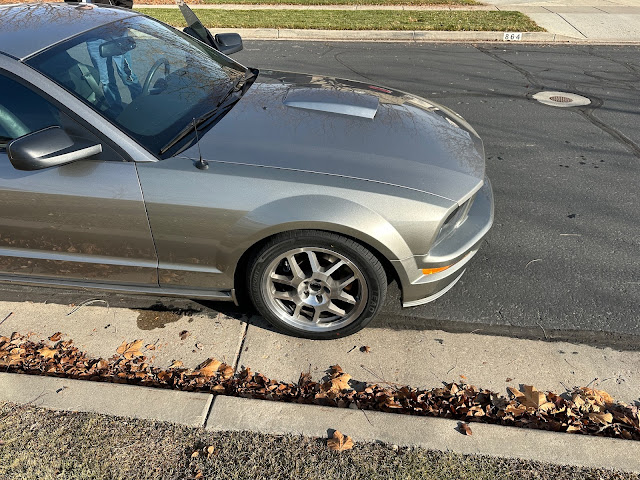
This post is a long time coming! Last spring I bought a passenger fender and front bumper from LMR.com. The passenger front fender had a nice dent which broke the headlight brackets. The front bumper had broken mounts for the driver side corner light (there was duct tape keeping the corner light on). The front bumper also had some normal wear and tear from 130k miles and 16 years of use. Nothing major but a fresh bumper with proper mounting of the corner light. Then after deciding, hey, a quart of base color could also paint the rear bumper too, so I ordered up a rear bumper from Rockauto.com.
I bought the paint supplies from Superior Paint in Salt Lake City in May and Corey put down the primer in his garage in May 2024.
I spent the next month plus sanding and prepping the primer for paint. We had planned to paint the parts in Corey's garage as well but it got really hot (not in June and July time frame) and Corey got busy with his own projects.
Here's the rivnut with the mounting screw verifying I got the right size of rivnuts. I then used Corey's rivnut gun to install 3 rivnuts for the antenna base.
So, I reached out to some local shops in my area and nobody wanted to touch it because the paint wasn't legal materials to paint in a high volume shop environment. I reached out to my friend Andy who has his own paint booth and we tried to set up a time. That didn't work out so he talked to his boss at FRC Customs and they agree to spray my base and clear for me. I think he quoted $90/hour labor cost and the final cost was $585, which included polishing/buffing the paint.
Here's a look at what I was working with to swap the corner lights over to the new bumper cover. Ford uses 2 rivets to mount the bracket to the bumper cover. I had to drill these out. In the process of drilling the rivets out, it did open up the holes a little and that meant, I wouldn't feel confident that the 1/4" rivets would hold securely. So, I went to Ace Hardware to get some bolts, washers and nuts.The driver side corner light bracket definitely had some damage. You can see the 2 screws holding the orange corner light to the bracket. Normally there is an alignment pin and 2 clips. Those were broken off and the previous owner rigged up these old rusty nuts and bolts. I went with some stainless hardware. Hopefully the bumper won't be coming off for a long time (famous last words!).
Here's the final set up to mount the corner light and bracket to the newly painted front bumper cover. You can see my hardware for the corner light and the 2 screws for the bracket. I ended up removing the outside screw because there is a stud and nut to mount the bumper to the fender in the hole right next to it and didn't think it was necessary. I did put some blue thread loctite on the little screw and nut so it hopefully doesn't vibrate loose. Again, time will tell!
The parts look great. I paid for FRC to polish the paint and it looks great!
Here I am mid install. The fender was the biggest pain in the butt. I fought with it fitting right until I realized that I hadn't made sure the bracket that hangs over a stud from the inside of the passenger door was properly installed. Once I did that, it went right together.
Here I am getting the bumper mounted. I got it in place, connected the lights and started to get it in place.


No comments:
Post a Comment